

Webhooks are here!
Now, integrating real-time event data with your backend systems just takes a few clicks. Whether you’re running your own service or managing a custom setup, Superwall’s webhooks make sure you’re instantly notified whenever key events occur. And, oh yeah, it costs you zero dollars.
Why use a webhook?
If you're new to the concept of webhooks, you may be wondering why, or what, to use them for. In short, they let you notify your own database, service, backend — whatever it is — when something has happened in another service. In this case, that service is Superwall.
So, did a user just cancel a subscription? Did they just convert? Start a trial?
You can be notified instantly about all of those things using webhooks to do things like:
Quickly update your customer records or subscription status.
Automate your data processing workflows.
Keep multi-platform apps in sync with user data.
At its core, a webhook is simply an HTTP callback that gets triggered by certain events. In our case, whenever one of these events occur in Superwall...
Initial Purchase
Renewal
Uncancellation
Expiration
Subscription Extended
Billing Issue
Cancellation
Non Renewing Purchase
Product Change
Subscription Paused
...we call the URL you provided and deliver a payload of event-specific data. This payload includes crucial details such as the price, environment, purchase time, and more. You can see all of the fields in our documentation here.
This level of integration allows your systems to react immediately to changes.
Set up a webhook in one minute flat
Getting started with webhooks in Superwall is incredibly simple, there are only two essential steps to follow:
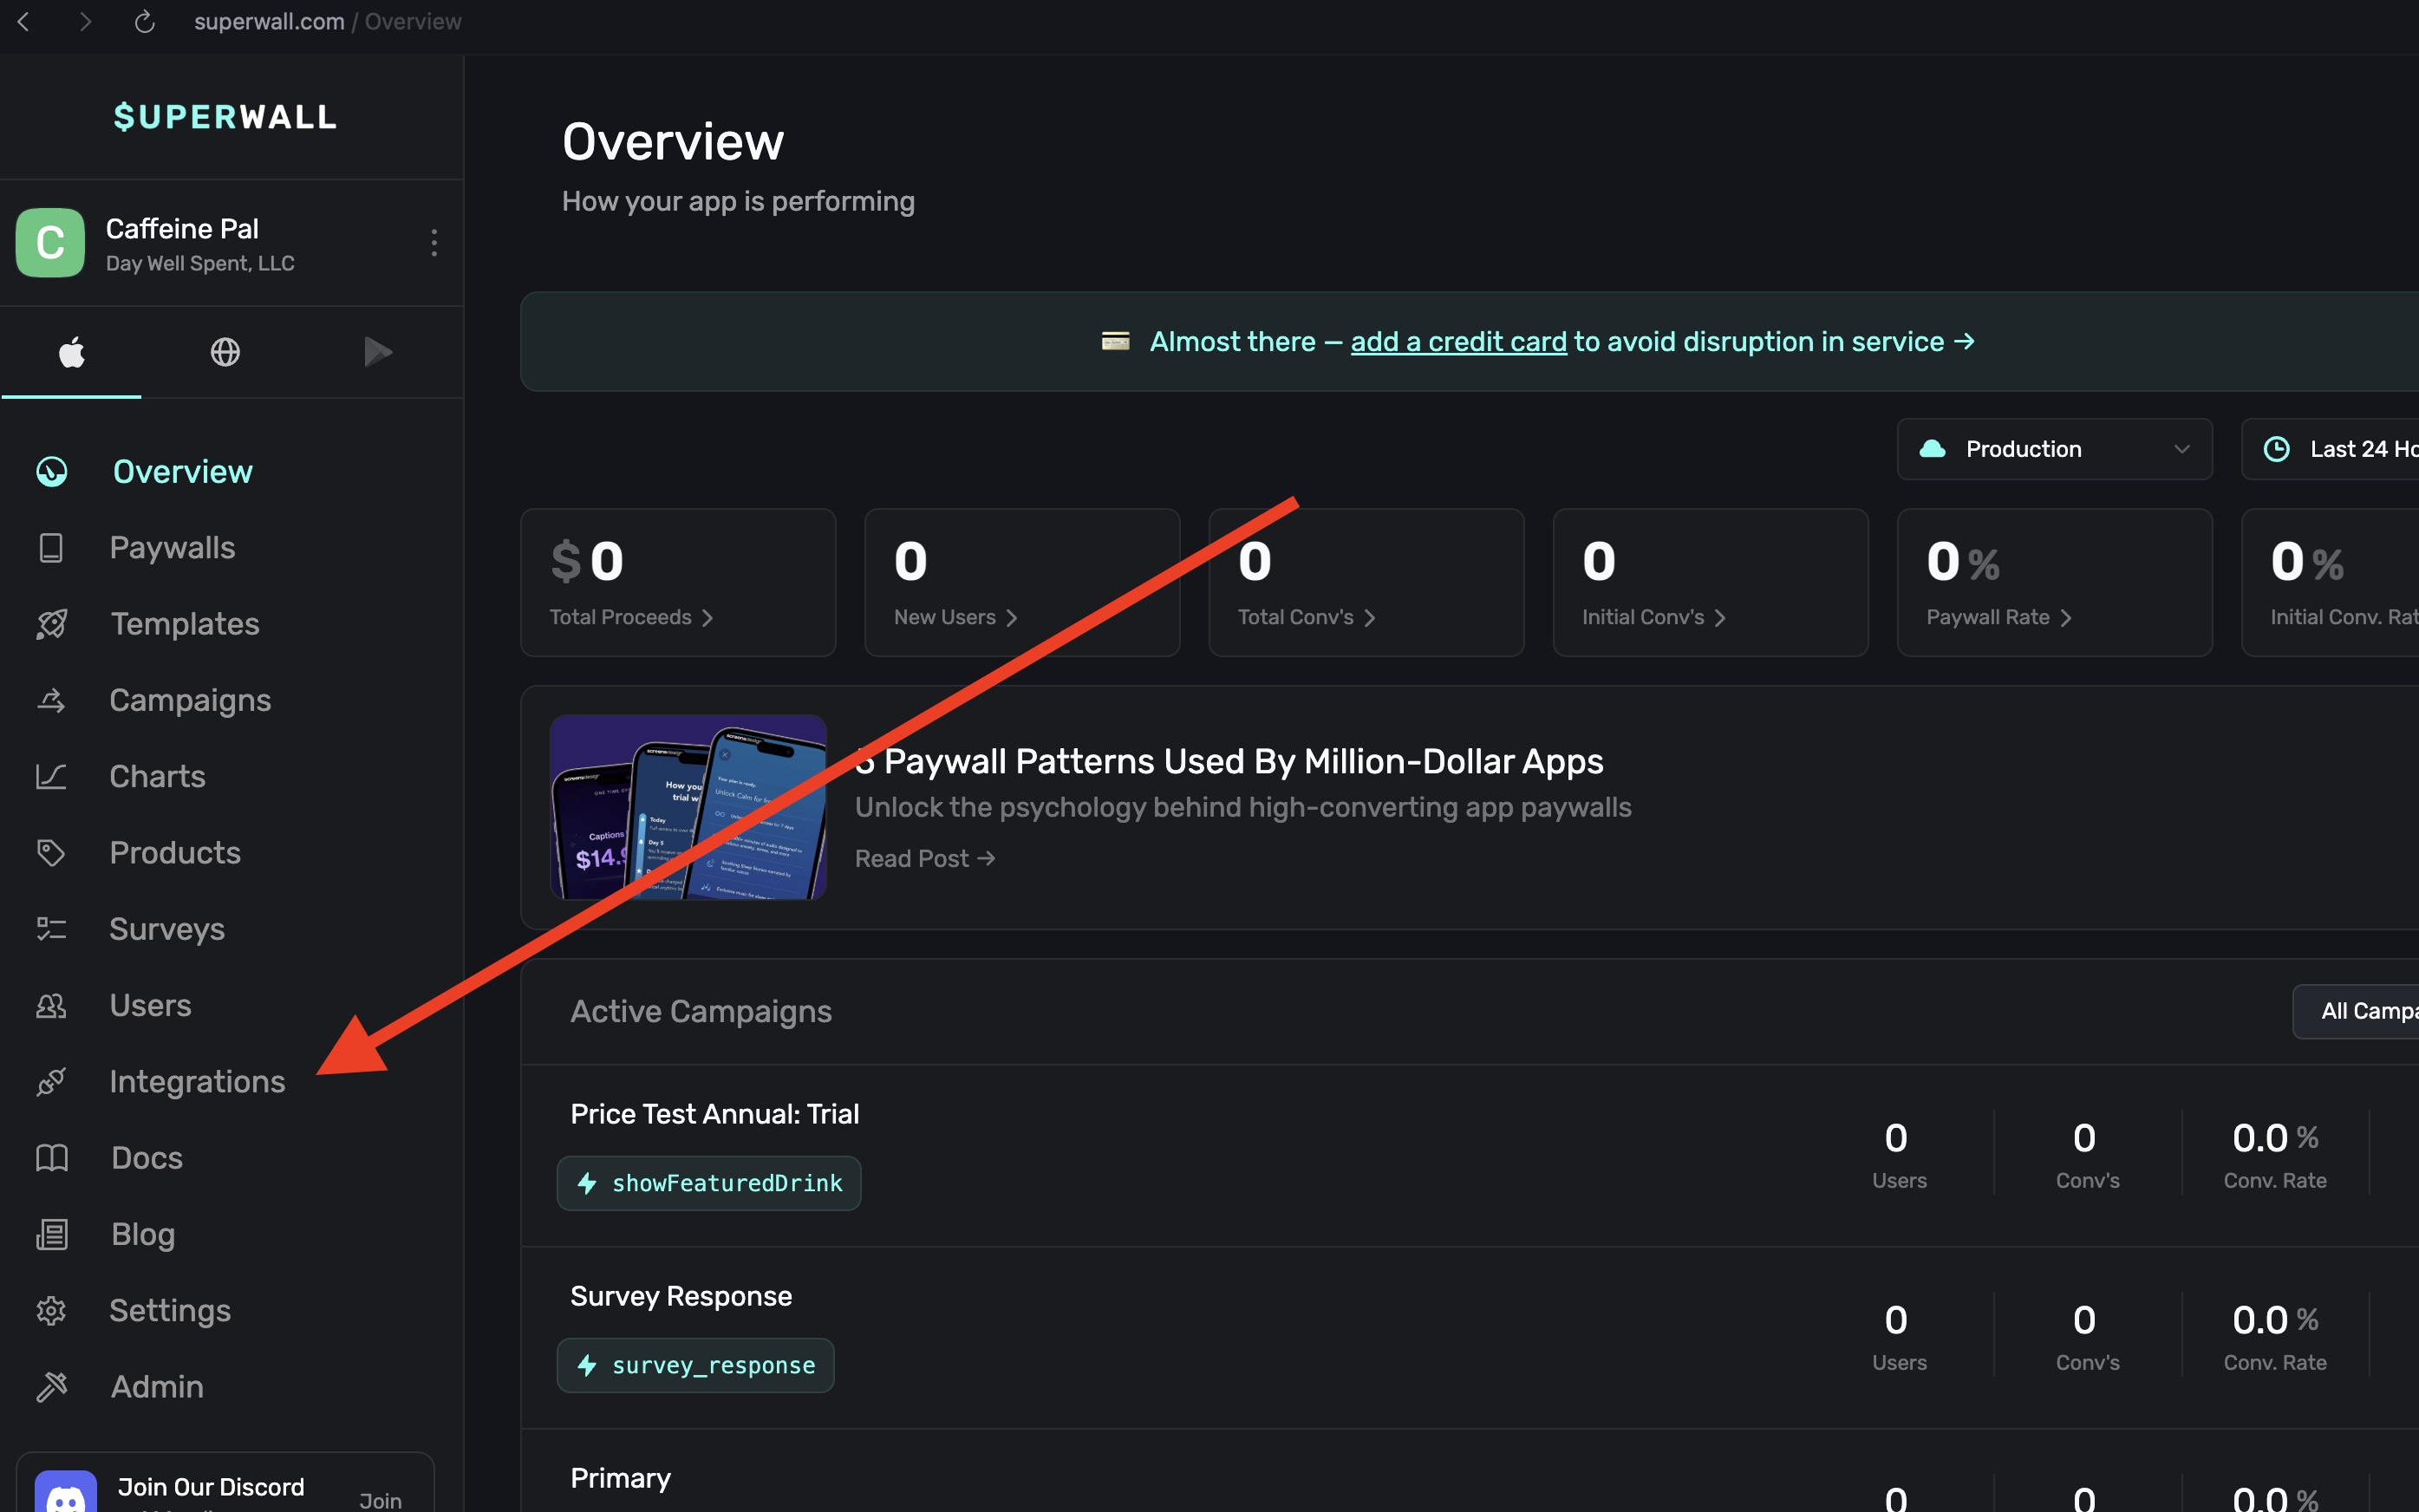
Step 1: Navigate to the Integrations tab
Log in to your Superwall dashboard and head to the integrations tab:
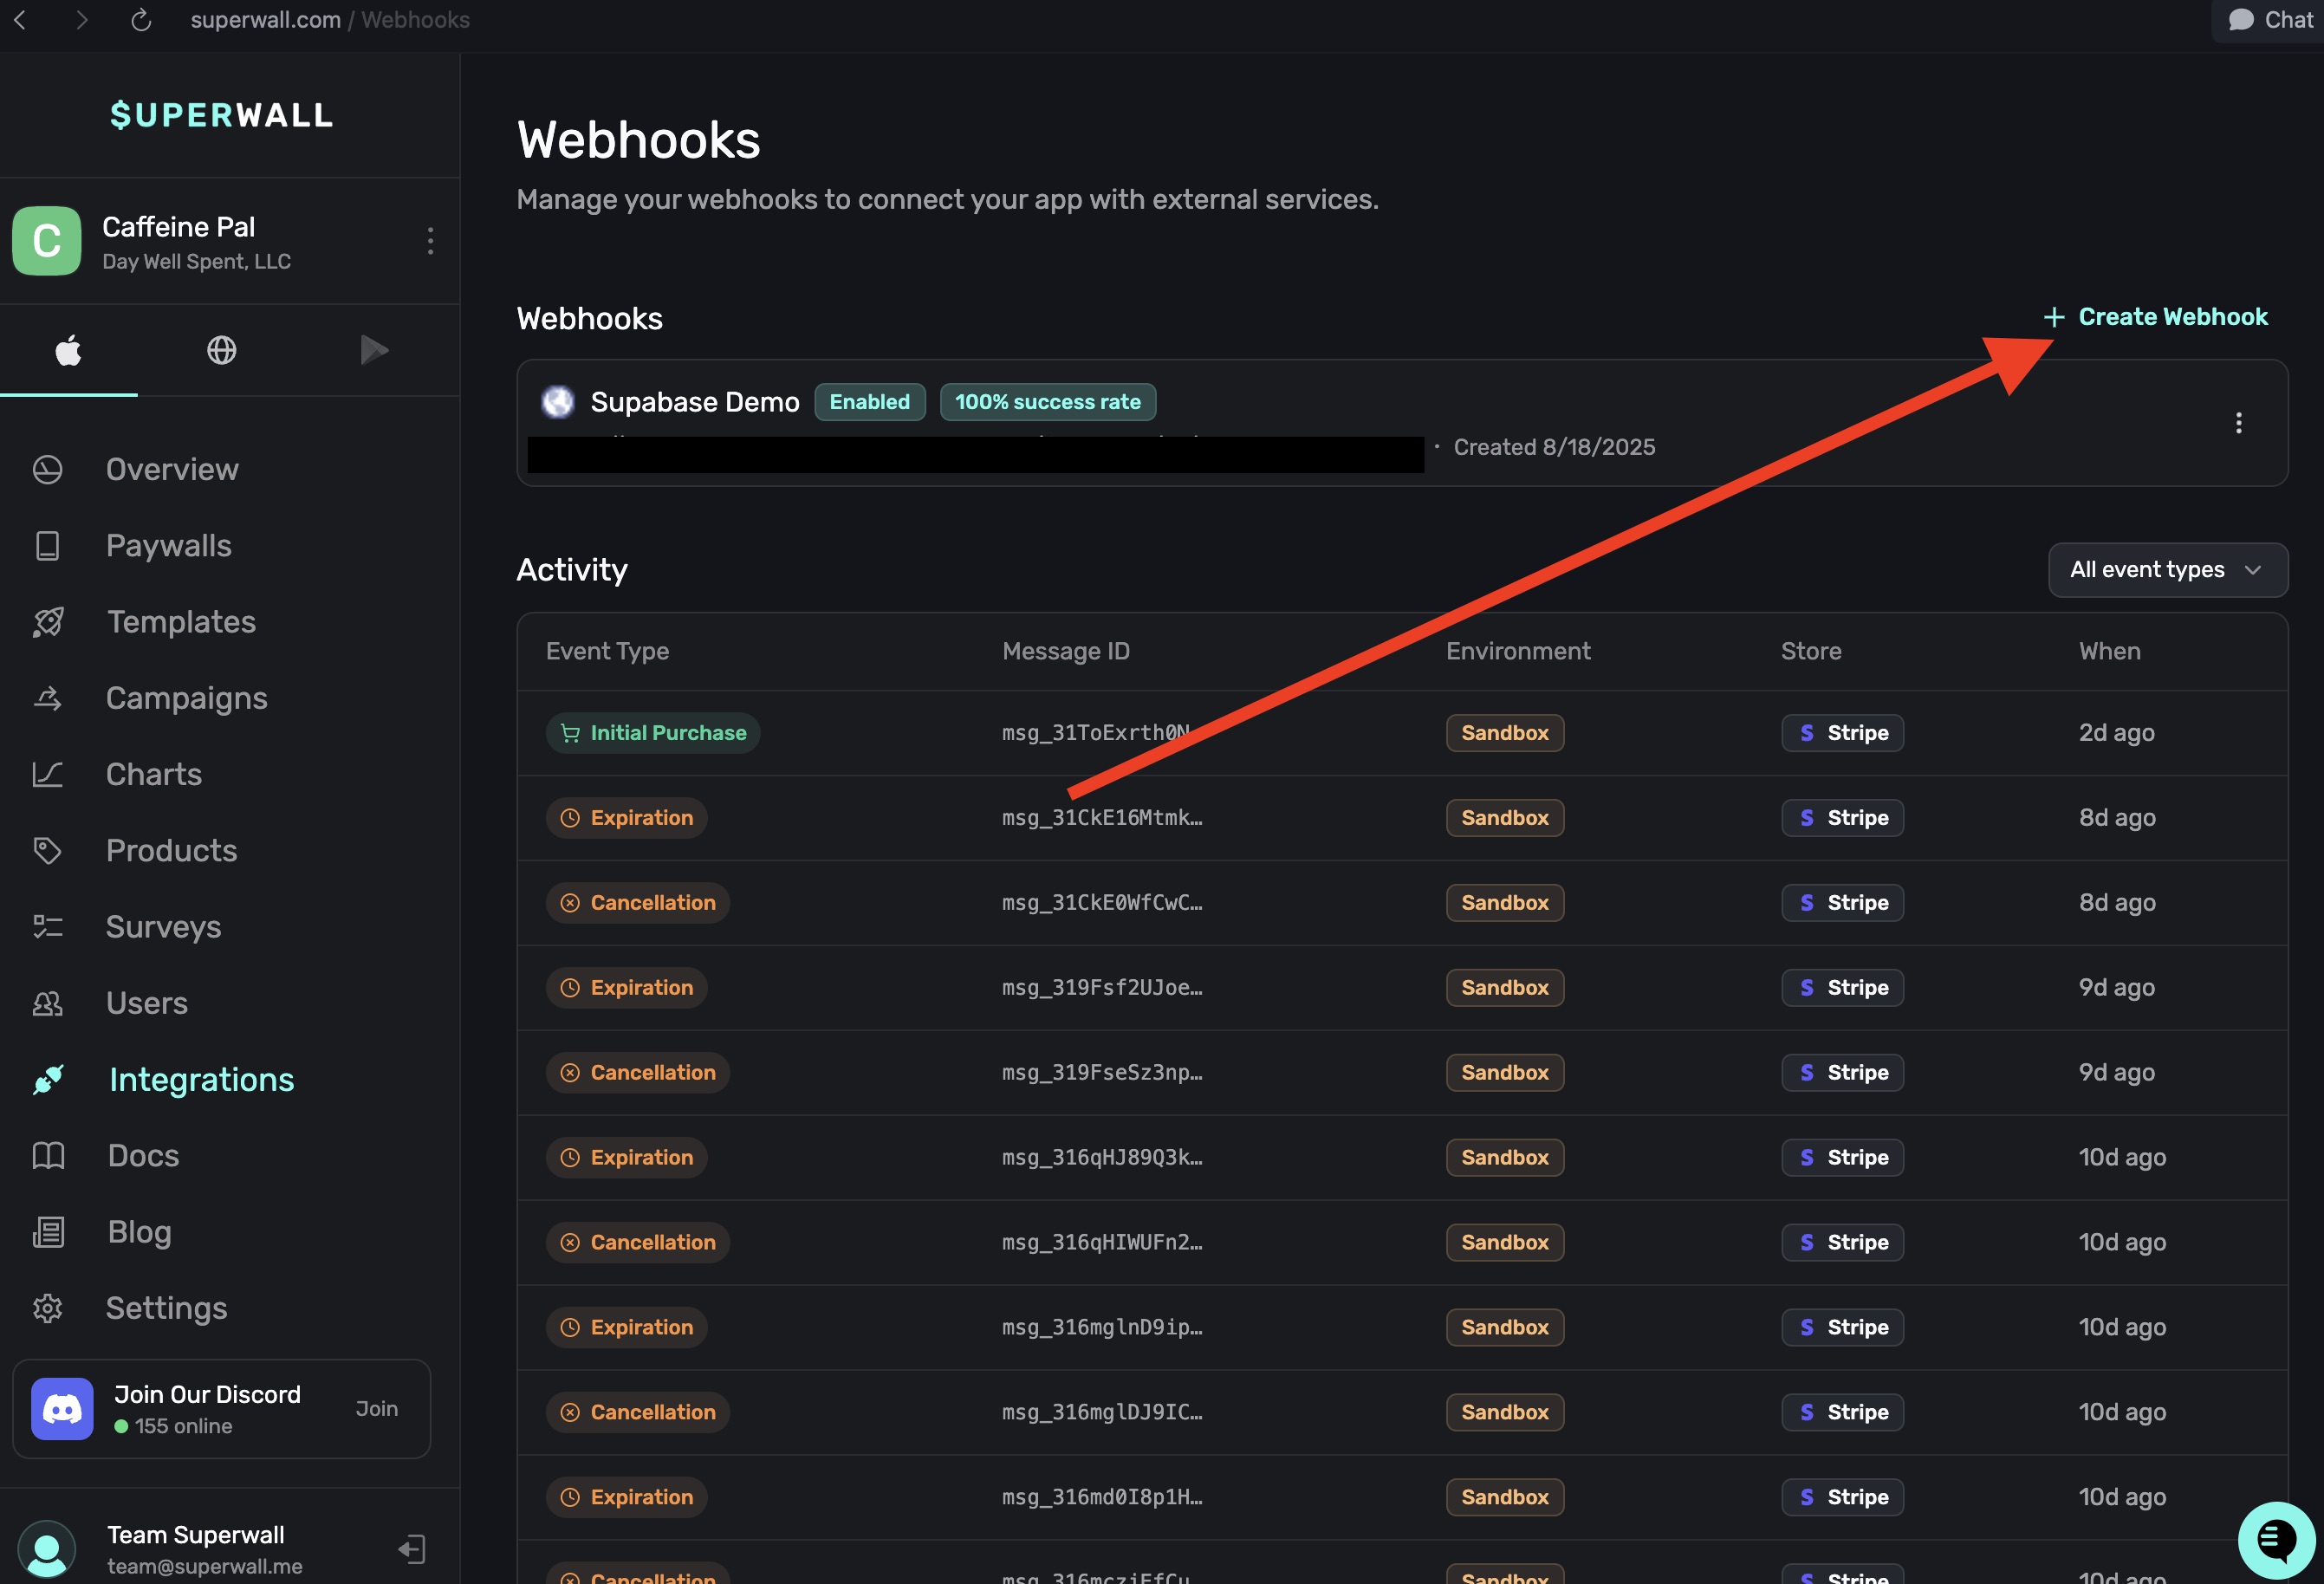
Once there, select “Webhooks.” You’ll immediately see an overview of your existing webhooks (if any) along with an option to create a new one. This central hub gives you a holistic view: you can quickly filter events (like sandbox purchases or initial purchases) and even rename or adjust existing webhooks as your needs evolve.
Step 2: Create and configure a webhook
Click the “Create Webhook” button.
From there, just enter:
A name for the webhook: I try to pick one that represents how you plan to use it.
A URL: This is the endpoint Superwall will call when an event occurs.
Custom header fields (optional): You can add custom key-value pairs in the header field that'll arrive with the request.
Once you provide this information, click “Create Webhook.” That’s it! You’ve now configured a webhook that will automatically send event data (such as renewals, expirations, and more) directly to your backend whenever a corresponding event is triggered. Note that on iOS, if you're testing locally with a StoreKit config file, these won't show up — they're just local purchases.
To see a demo of how to get this set up, you can check out my YouTube tutorial here.
Wrapping up
With webhooks rolled out, now you can keep anything in sync with what your users are doing in Superwall. Whether it's a database flag that needs updated, or maybe you just want to fire off a message to some custom service — it's all easily done with a webhook. Head over to the integration page today to started, and if you're new to Superwall, grab a free account first!